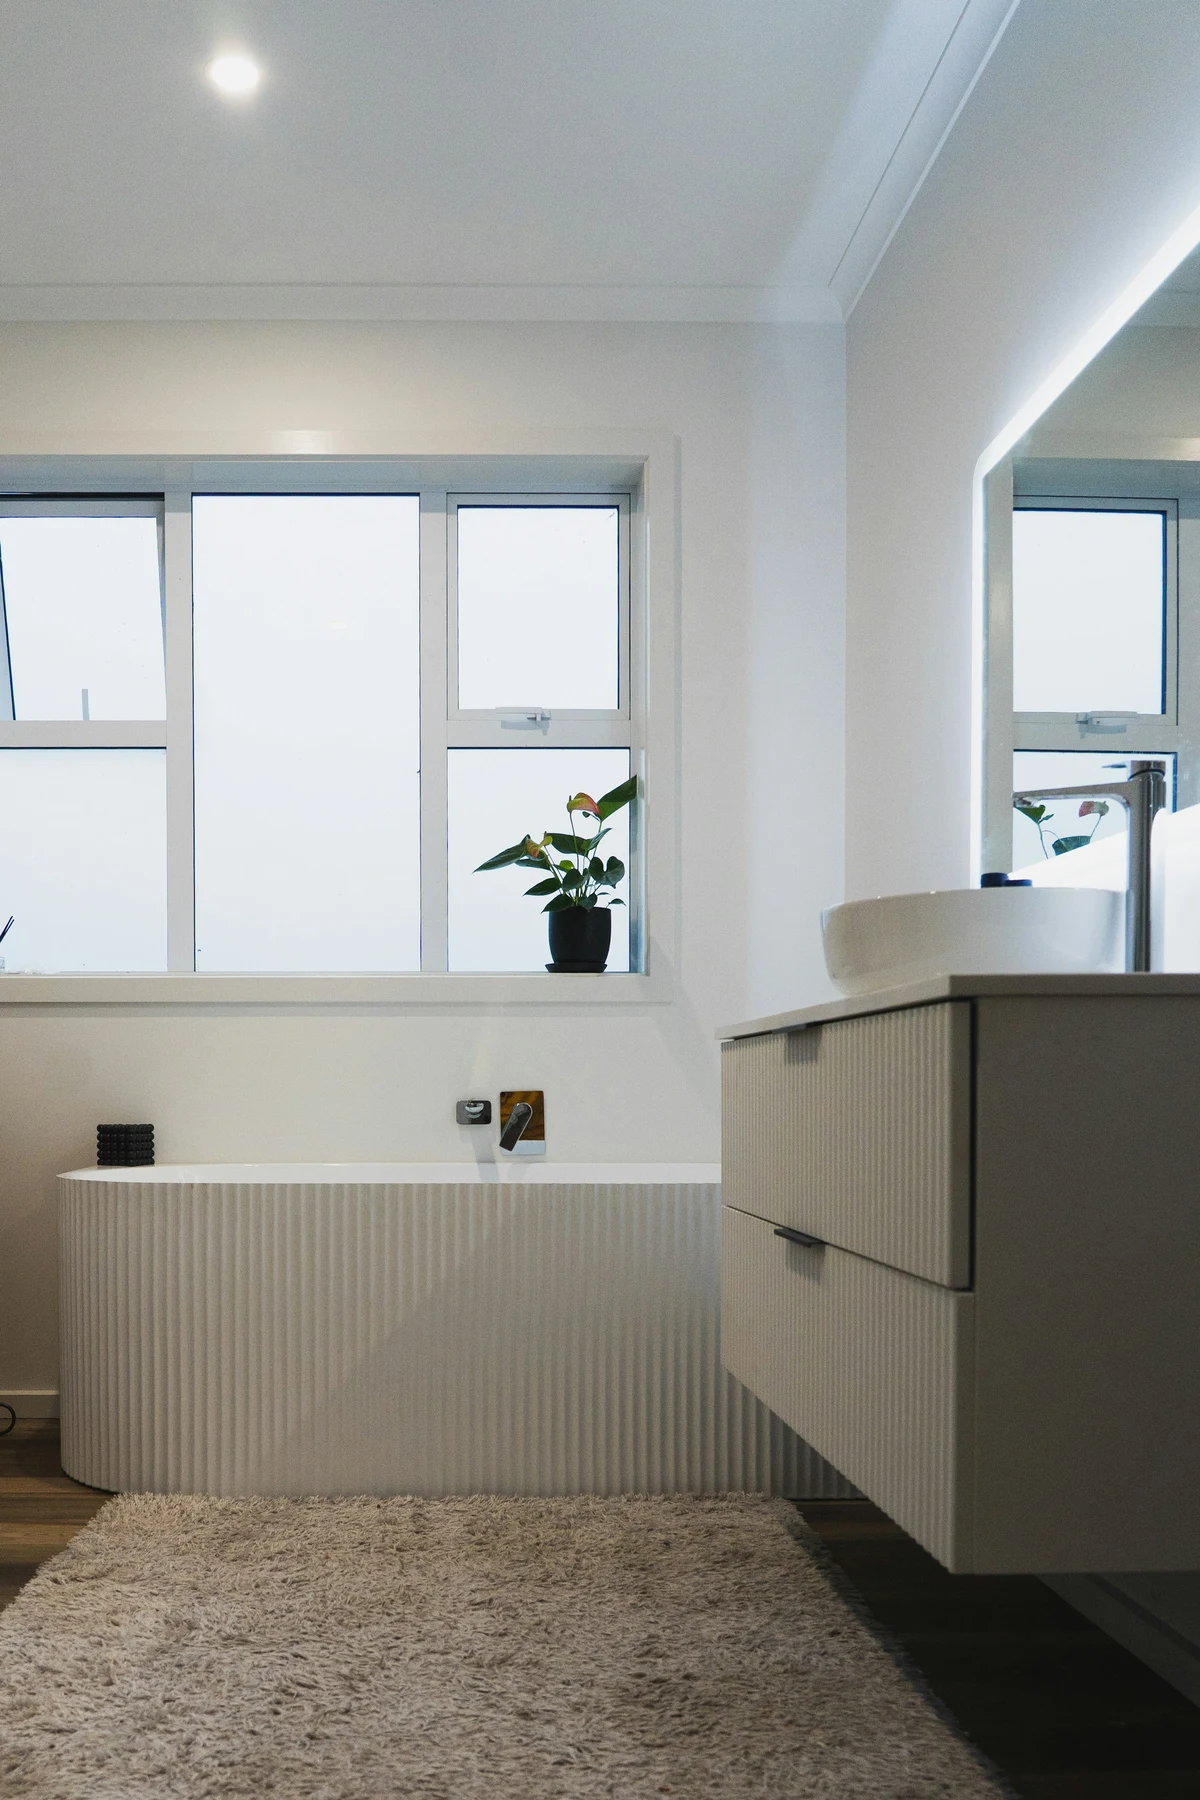
The IKEA GODMORGON series is one of the best-selling bathroom furniture lines in the world. The sleek design, handy drawers, and floating mounting provide a modern and spacious bathroom.
But that 'floating' aspect is also the biggest challenge during assembly. A piece of furniture with a stone or ceramic sink, including full drawers of cosmetics, weighs dozens of kilos. If you don't anchor this correctly to the wall, the cabinet with the sink and all can tear right off.
In this guide, we explain how to safely and levelly attach a GODMORGON vanity unit to your bathroom wall.
Step 1: Determine the Wall Type (Crucial!)
The screws provided by IKEA are standard wood screws. IKEA does not supply wall plugs, because every wall is different. It is your responsibility to buy the right plugs for your wall.
- Solid wall (concrete or solid brick): Use high-quality nylon plugs (e.g., Fischer UX or Duopower, 8mm or 10mm) and sturdy lag bolts. This is the safest wall to hang a floating cabinet on.
- Hollow brick / Porotherm: Use universal plugs that form themselves in the stone, or use a chemical anchor for maximum security. Drill without the hammer function to prevent shattering the soft stone on the inside.
- Plasterboard wall (Drywall): Alarm bell! You can never simply hang a floating vanity on a single plasterboard, not even with heavy-duty hollow wall anchors. The board will tear out under the weight.
- Solution A: Is the wall not closed yet? Have the contractor mount an 18mm plywood board behind the plasterboard at the height of the furniture.
- Solution B: Is the bathroom already tiled? Then order the special GODMORGON support legs. This allows the weight to rest on the floor, and the wall only needs to prevent the furniture from tilting forward.
Step 2: Determine Height and Okti
The standard height for the top of a sink is 85 to 90 cm from the floor. Measure this carefully, taking into account the thickness of the sink (Odensvik, Bråviken, etc.).
- Draw a horizontal, level line on the wall where the suspension rail (the metal bar) of the furniture should go.
- Check that the drain (usually 40mm) and the water pipes (hot and cold) fall exactly in the free space as indicated in the manual. The center of the drain should ideally be in the middle of the space behind the drawers.
Step 3: Drilling into Tiles
Drilling into bathroom tiles is exciting; you don't want the tile to crack.
- Stick a piece of masking tape on the spot where you are going to drill. This prevents your drill from slipping on the smooth glaze.
- Use a sharp tile drill or glass drill.
- Important: Never put the drill on the hammer setting as long as you are drilling in the tile! Only when you are through the tile and drilling into the underlying stone or concrete, do you switch on the hammer setting.
- Drill the holes deep enough, knock the plugs in (ensure the collar of the plug is flush with the tile), and screw the metal suspension rail dead tight to the wall.
Step 4: Hanging and Adjusting the Frame
Assemble the wooden frame of the GODMORGON furniture (without drawers and without sink) according to the instructions.
- Hang the light wooden frame on the metal suspension rail on the wall.
- Use the adjustment screws inside the furniture to hang it perfectly level, both horizontally and vertically (against the wall).
- Once it hangs level, tighten the locking screws so it can no longer lift off the rail.
Step 5: Placing Sink and Siphon (Rörvik)
- Seal the top edge of the furniture with a thin line of transparent or white sanitary silicone and place the sink on it. This prevents water from running between the sink and the wood surface.
- IKEA sinks use the special space-saving Rörvik siphon. This runs tight along the back wall down, so the drawers can close completely.
- Follow the siphon's manual very precisely. Cut the plastic pipes to the right size with PVC shears or a small saw. Make sure all rubber rings (O-rings) are seated correctly to prevent leakage.
[!TIP] Test the drain extensively by filling the basin and letting it drain all at once. Put a tea towel underneath for the first few days to quickly detect any drops (micro-leaks).
Which Plugs for Which Wall Type?
| Wall type | Recommended fixing | Note |
|---|---|---|
| Solid concrete / brick | Nylon plug (Fischer UX/Duopower 8–10mm) + lag bolt | Safest wall |
| Hollow brick / Porotherm | Universal plug or chemical anchor | Drill without hammer |
| Plasterboard (drywall) | Not possible directly | Use GODMORGON support legs or plywood backing |
Frequently Asked Questions (FAQ)
Can I hang a GODMORGON vanity on a plasterboard wall?
No, you can never simply hang a floating vanity on a single plasterboard, not even with heavy-duty hollow wall anchors. The board will tear out under the weight. Use the special GODMORGON support legs (so the weight rests on the floor) or have a plywood board mounted behind the plasterboard.
At what height should I mount a vanity unit?
The standard height for the top of a sink is 85 to 90 cm from the floor. Measure this carefully, taking into account the thickness of the sink (e.g., Odensvik or Bråviken).
How do I prevent the tile from cracking when drilling?
Stick a piece of masking tape on the drilling spot to prevent slipping, use a sharp tile drill or glass drill, and never put the drill on the hammer setting while drilling in the tile. Only switch on the hammer setting once you are through the tile.
Have It Assembled?
Safely hanging a bathroom vanity and connecting plumbing requires DIY experience. Unsure about your wall or the pipes?
The specialists at Montage Vandaag assemble IKEA GODMORGON bathrooms weekly. We ensure the right plugs, a perfectly level piece of furniture, and a leak-free connection of the faucet and siphon. Request a quote and enjoy your new bathroom worry-free!