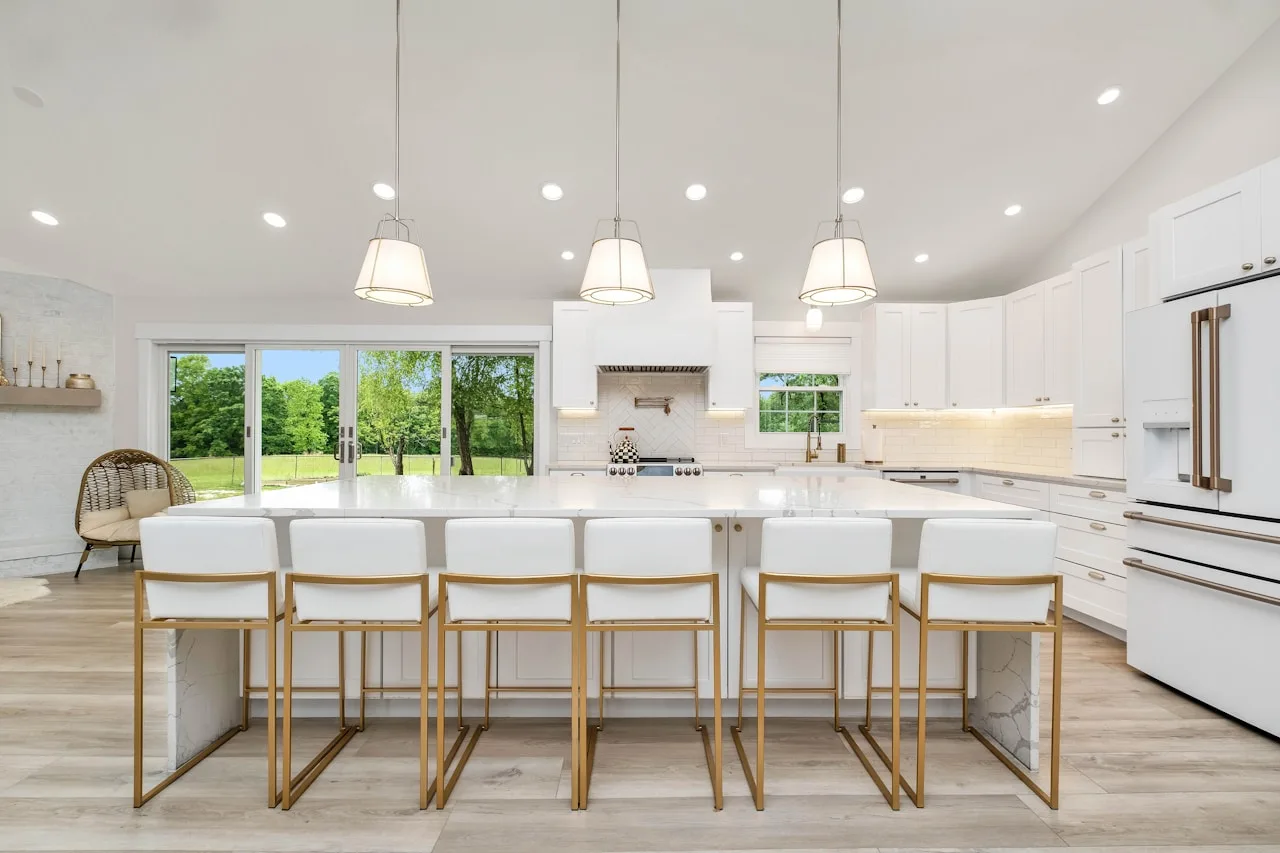
A kitchen island is the dream of many home cooks. It offers extra workspace, serves as a cozy breakfast bar, and forms the social heart of the house. With the IKEA METOD system, you can put together a beautiful island yourself.
However, the assembly of a freestanding kitchen island is technically much more challenging than placing a standard wall kitchen. A wall kitchen is suspended via an iron rail firmly on the wall. An island stands completely loose in the room.
In this article, we share the most important tips to ensure your IKEA kitchen island is rock solid and beautifully finished.
1. Anchoring to the Floor (Crucial!)
An island consists of several base cabinets screwed together. If you place a heavy worktop on this, and someone leans against it, the entire island can slide or even tip over. Anchoring the island to the floor is therefore an absolute must.
How do you do this?
IKEA supplies special mounting kits for islands (the METOD assembly kit for kitchen island).
- Determine the position: Okti exactly where the island should be on the floor. Take into account walkways around the island (minimum 90 cm to 100 cm is recommended).
- Floor heating? Beware! If you have underfloor heating, you cannot just drill into the floor! A pierced pipe means huge water damage and a broken floor. In this case, the wooden beams or metal profiles must be heavily glued to the floor with high-quality mounting kit (like High Tack).
- Mounting the frame: Screw wooden beams or the IKEA metal profiles firmly to the floor (or glue them).
- Position the cabinets: Place the METOD cabinets over these beams and screw the cabinets from the inside to the beams on the floor. Now the island can't go anywhere.
2. Connecting the Cabinets
An island often consists of cabinets placed back-to-back (e.g., 60 cm deep cabinets at the front, and 37 cm deep cabinets at the back for extra storage).
- Ensure the cabinets are perfectly aligned and exactly level before you screw them together.
- Use the supplied coupling screws to connect the cabinets tightly to each other. This turns the loose cabinets into one massive, sturdy block.
3. Pipework: Prepare in Time
Will the island have a sink or an induction cooktop? Then all pipes (water, drain, electricity) must come out of the floor at the exact right spot.
- Planning is everything: This must be done before the floor is poured or laid. Once the concrete is poured, moving a pipe is almost impossible.
- Ensure the pipes come up within the margins of the relevant sink cabinet or cooktop cabinet, so you can neatly connect them in the plinth space or behind the drawers.
4. Finishing the Back and Sides
The back and sides of an island are visible, unlike a wall kitchen. IKEA sells special cover panels (for example, in the size 80x200 cm or 80x240 cm) to neatly finish the back.
- Cover panels: Cut these panels exactly to size (take the plinth height into account!) and screw them tightly from the inside of the cabinets so you don't see any screw holes on the outside.
- Seating area: Do you want bar stools at the island? Then let the worktop overhang at the back (usually by about 30 cm) and omit the shallow cabinets at the back. Ensure the worktop is sufficiently supported (sometimes steel brackets are needed to prevent the top from breaking).
Overview of the Assembly Steps
| Step | Action | Key consideration |
|---|---|---|
| 1 | Anchor to the floor | Underfloor heating: glue instead of drill |
| 2 | Connect the cabinets | Align level, use coupling screws |
| 3 | Pipework in the floor | Perilex, water/drain, extraction positioned exactly |
| 4 | Finish back and sides | Cover panels, plinth height, seating overhang |
Frequently Asked Questions (FAQ)
Does an IKEA kitchen island need to be anchored to the floor?
Yes, a kitchen island must be anchored to the floor because it does not lean against a wall. IKEA supplies special mounting kits (the METOD assembly kit for kitchen island) with metal profiles or wooden beams that you screw to the floor. Without anchoring, the island can slide or tip over if someone leans against it.
Can I assemble a kitchen island with underfloor heating?
Drilling into a floor with underfloor heating is extremely risky because of the risk of water damage. With underfloor heating, the wooden beams or metal profiles must be heavily glued to the floor with high-quality mounting kit (like High Tack) instead of being screwed.
Which pipes do I need for a kitchen island?
That depends on what goes in the island. With an induction cooktop you need a Perilex connection. If the sink is in the island, you need water pipes (hot/cold) and a 40mm or 50mm PVC drain. With a downdraft cooktop with ducted extraction, a duct must run through the floor to the facade.
Assembly by Professionals
Building a kitchen island requires precision, knowledge of floor constructions (especially with underfloor heating), and exactly tailored cover panels. A wobbly island ruins the entire feel of your new kitchen.
Don't want to take any risks? Have your IKEA kitchen island assembled by the specialists at Montage Vandaag. We anchor the island rock-solid, even with underfloor heating, and ensure a flawless finish. Request your free quote here.